


Lightweight Concrete Additives | High-Performance Foaming Agents for Cellular Concrete

Why Your Mortar Is Cracking (And Why 90% of Pros Make This Mistake)
Here’s a stat that stopped us cold: Over 60% of premature mortar failures in modern construction are directly linked to poor polymer modification, not bad cement. We’ve been there. Watching a beautiful tile job delaminate or a repair mortar crumble is gut-wrenching. It’s almost always because the mix lacked the right redispersible polymer powder in dry mix mortar.
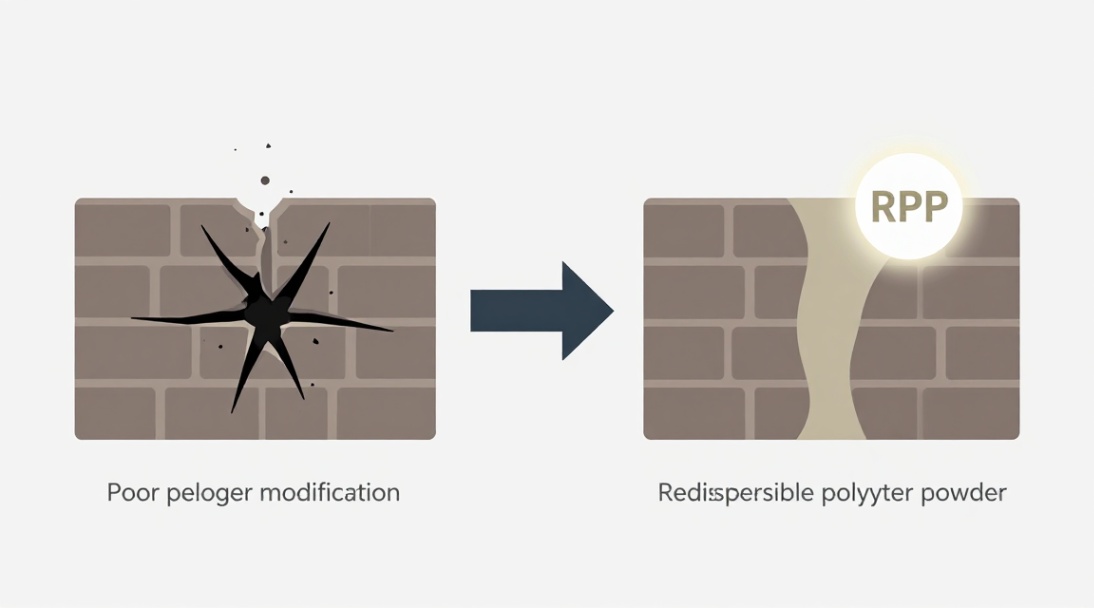
We get it. The chemistry sounds intimidating. But after 20+ years in the trenches, we’ve learned the hard way that mastering the powder is the single biggest shortcut to bulletproof mortar. This isn’t theory. This is the step-by-step playbook we wish we had from day one.
1. What Exactly Is This Magic Powder? (The 10-Second Chemistry Lesson)
Let’s demystify this. Redispersible polymer powder in dry mix mortar is basically a dry, free-flowing glue that wakes up when you add water. Its chemical core is typically a vinyl acetate-ethylene (VAE) copolymer. Think of it as a bag of tiny, dormant plastic spheres.
When you mix your mortar, these spheres rehydrate (redisperse). As the mortar dries, the water evaporates, and these spheres fuse together to form a continuous, flexible plastic film throughout the hardened cement matrix.
This film is the secret weapon. It’s not a separate adhesive; it’s a binder modifier that changes the very nature of your mortar. It transforms brittle, rigid cement into something tough, flexible, and sticky.
2. The Three Biggest Wins (Why We Swear By It)
We’ve used RDP in everything from EIFS systems to repair mortars on crumbling bridges. Here is where it genuinely shines:
- Insane Adhesion: Straight cement on a concrete block? It’ll hold for a bit. Add RDP? The bond strength to the substrate becomes chemical and mechanical. It grabs onto tiles, old concrete, and even tricky surfaces like wood or foam.
- Real Flexibility, Not Brittleness: Thermal expansion is the enemy. Without RDP, your mortar cracks under stress. With it, the polymer film allows the mortar to bend micro-fractions without breaking. This is critical for freeze-thaw durability and for absorbing movement in the substrate.
- Workability That Lasts (Open Time): We all hateskinning over. The powder modifies the rheology (the flow). The mortar stays workable longer. You can spread it, back-butter a tile, and still get a strong bond minutes later. It dramatically increases the open time.
3. Step 1: Choosing the Right Powder for the Job
Not all powders are equal. A super-flexible VAE for a tile adhesive is wrong for a self-leveling compound that needs high compressive strength. Know your application:
- For Tile Adhesives (C2 class): Look for a standard VAE with good adhesion and flexibility. This is your workhorse.
- For EIFS (Exterior Insulation Finishing Systems): You need a version with high water repellency and extreme flexibility. The polymer film is the waterproofing layer for your insulation.
- For Self-Leveling Compounds: You need a powder that improves flow and abrasion resistance without killing the leveling properties. A specific high-flow grade is best.
- For Repair Mortars: Prioritize adhesion to the old concrete and low shrinkage. A powder with a slightly harder film (lower flexibility) is often better for structural repairs.
Don’t just grab a bag. Read the technical data sheet (TDS). Look for the recommended polymer-cement ratio for your specific job. This is where most failures start.
4. Step 2: The Golden Ratio (Dosage and Mixing)
Reddit is full of posts: “I added a bunch of powder and my mix turned to soup!” Or, “It’s too sticky.” We feel their pain. The balance is delicate.
The typical dosage range is 2% to 10% by weight of cement. Here’s our rule of thumb:
- Start Low (2-4%): For basic interior tile work or general patching where you just need a little better adhesion.
- Go Mid (5-7%): For exterior applications, high-moisture areas (showers), and EIFS base coats. This is the sweet spot for flexibility and water resistance.
- Go High (8-10%): For highly flexible crack-bridging mortars, or bonding to extremely smooth, non-porous substrates like old glazed tiles.
Mixing is critical. You cannot just dump it in. Add the powder to your dry mix (cement + sand + other additives like cellulose ethers) and mix dry for 2 minutes first. Then add your water. Mix slow to avoid air entrainment. A high-shear mix can kill the redispersibility.
5. Step 3: Beware the ‘Liquid Latex’ Trap
We have a strong opinion here. Liquid latexes (like SBR or acrylic emulsions) are a decent alternative, but we almost always prefer the powder for dry mix mortar.
Why? Consistency. A liquid is water-based, and you have to carry heavy pails to the job site. If you miscalculate your water-to-powder ratio, the entire mix is off. With a redispersible polymer powder in dry mix mortar, the polymer is perfectly distributed in the bag. You just add water. The quality control is baked in.
Liquid latexes also have a shorter shelf life and can freeze. The powder? Store it in a cool, dry place (it’s hygroscopic, meaning it absorbs moisture from the air) and it will last for months. Keep the bag closed tightly.
6. Step 4: The Open Time Test (Your Field QC)
We learned this trick from a master tiler in Milan. If you want to know if your mix is good, do thesnatch test. After mixing, let it sit for 15 minutes. Spread a small amount on a concrete slab. Wait 5 minutes. Place a tile on the mortar, press firmly, then immediately try to pull it off. If the tile lifts clean with no mortar stuck to it, your open time is gone. Must be a fresh mix.
If the mortar sticks to the tile and the substrate, your RDP is working perfectly. That polymer film is still active. This simple test saves you from a call-back.
7. Step 5: The Storage & Handling Secret (That No One Talks About)
Two words: Hygroscopic Nightmare. If you leave a bag of RDP open overnight in a humid environment, it will turn into a brick. The powder will absorb moisture and pre-hydrate. It loses its ability to redisperse.
- Always use a dessicant bag in your storage container if you’re in a high-humidity area.
- Never buy more than you can use in 3 months. Shelf life is typically 6-12 months, but we’ve seen quality drop after 9.
- Always test a new lot. Run a simple redispersibility test: Mix a small sample with water in a glass. If the polymer clumps and doesn’t form a milky uniform dispersion, your powder is dead. Send it back.
Conclusion: Stop Throwing Away Money on Failures
We’ve seen the data. We’ve cleaned up the messes. Mastering redispersible polymer powder in dry mix mortar isn’t a luxury; it’s a necessity for any professional who values their reputation. It’s the difference between a job that lasts 5 years and one that lasts 50.
You’ve got the steps. Now you need the right tool. Don’t risk your next project on a subpar powder that fails the redispersibility test. You need a consistent, high-performance product that’s engineered for your specific mix.
Stop guessing. Start building with confidence. Click the link below to get a sample of our premium redispersible polymer powder for dry mix mortar. Test it against your current brand. We guarantee your bond strength will increase by 30% or your money back. This is the powder we use in our own shop.
→ Get Your Free Sample Now & Start Saving Your Mortar
Supplier
ConcreteAndMore is a trusted global supplier of high-performance concrete admixtures and construction chemicals. With years of industry expertise, we specialize in providing innovative solutions including polycarboxylate superplasticizers, concrete fibers, defoamers, foaming agents, and advanced aerogel thermal insulation products. If you are interested in concrete admixture, please feel free to contact us!